Running your programs
In this section, you will learn more about running Java
programs in the workbench.
- In the Package Explorer view, find
junit.textui/TestRunner.java and double-click it to
open it in an editor.
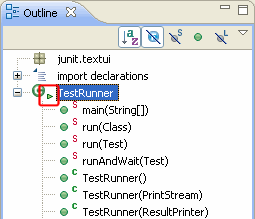
- In the Outline view, notice that the TestRunner class has
an icon which indicates that the class defines a
main method.
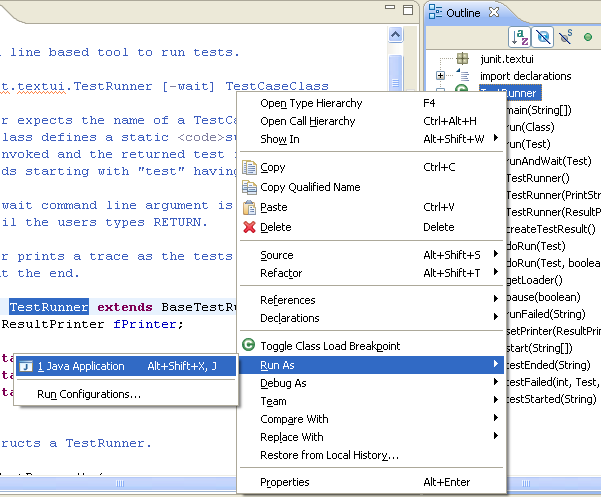
- Right click on TestRunner.java in the Package Explorer
and select Run As > Java
Application. This will launch the selected class as
a local Java application. The Run As context
menu item is also available in other places, such as the
Outline view.
- Notice that the program has finished running and the
following message appears in the Console view telling you
that the program needs an execution argument. Running
class from the Package Explorer as a Java Application uses
the default settings for launching the selected class and
does not allow you to specify any arguments.
![Console with error message: Usage: TestRunner [-wait] testCaseName, where name is the name of the TestCase class](images/view_console_noarg.png)
- To specify arguments, use the drop-down
Run menu in the toolbar and select
Run Configurations....
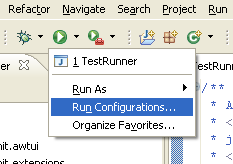
You can also Ctrl+Click a configuration in the
drop-down menu to start editing that configuration.
- This time, the Launch Configurations dialog opens with
the TestRunner launch configuration selected. A launch
configuration allows you to configure how a program is
launched, including its arguments, classpath, and other
options. (A default launch configuration was created
for you when you chose Run > Java
Application).
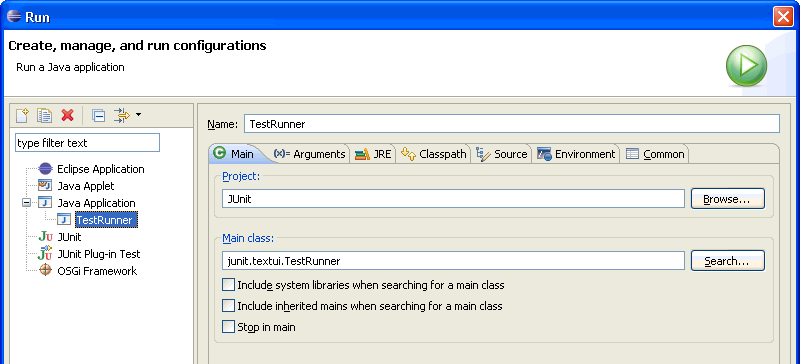
- Select the Arguments tab and type
junit.samples.VectorTest in the Program arguments
area.

- Click Run. This time the program runs
correctly, indicating the number of tests that were run.

-
Switch to the Debug perspective. In the Debug view,
notice that a process for the last program launch was
registered when the program was run.
By default, the Debug view automatically removes any
terminated launches when a new launch is created. This
preference can be configured on the
 Run/Debug > Launching preference
page

Note: You can relaunch a terminated process by
selecting Relaunch from its context
menu.
- Select the drop-down menu from the Run
button in the workbench toolbar. This list contains the
previously launched programs. These programs can be
relaunched by selecting them in the history list.
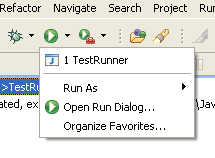
- By default the currently selected resource or active
editor is launched when the run button is hit. If none of
these is launchable the current project will be launched. You
can configure this behavior under
 Run/Debug > Launching.

- From the context menu in the Debug view (or the
equivalent toolbar button), select Remove All
Terminated to clear the view of terminated launch
processes.


Changing debugger launch
options
Connecting to a
remote VM with the Remote Java application launch
configuration
Disconnecting
from a VM
Launching
a Java program
Running and
debugging

Debug
view
Run menu
actions
Run and debug
toolbar actions


![Console with error message: Usage: TestRunner [-wait] testCaseName, where name is the name of the TestCase class](images/view_console_noarg.png)


 Run/Debug > Launching preference
page


 Run/Debug > Launching.


