Click
 Window > Open Perspective >
Other... > Java to change to the Java perspective.
Window > Open Perspective >
Other... > Java to change to the Java perspective.
Click
File > New >
Other... > Java Project to open the New Java
Project wizard.
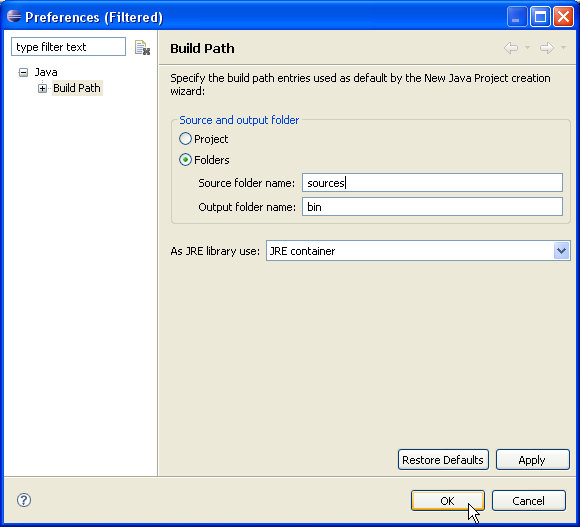
Type "MyProject" in the Project name field.
In Project layout group, change selection to Create separate source and output folders and edit Configure default... to modify Source folder name from "src" to "sources".

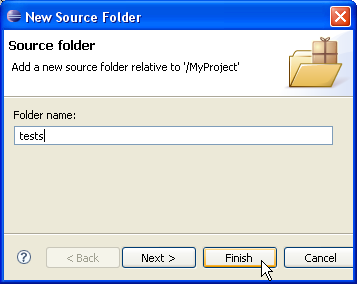
To add another source folder to your project, click Create
new source folder link in Details pane or
button  in view bar.
In New Source Folder dialog, type "tests" in the Folder name field.
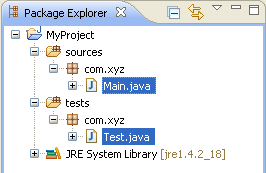
Your project setup now looks as follows:
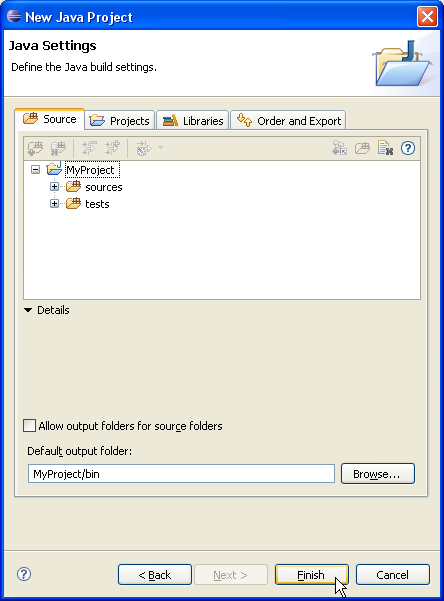
sources and tests. You can start
adding classes to these folders or you can copy them using drag and drop.