Click
 Window > Open Perspective
> Other... > Java to change to the Java
perspective.
Window > Open Perspective
> Other... > Java to change to the Java
perspective.
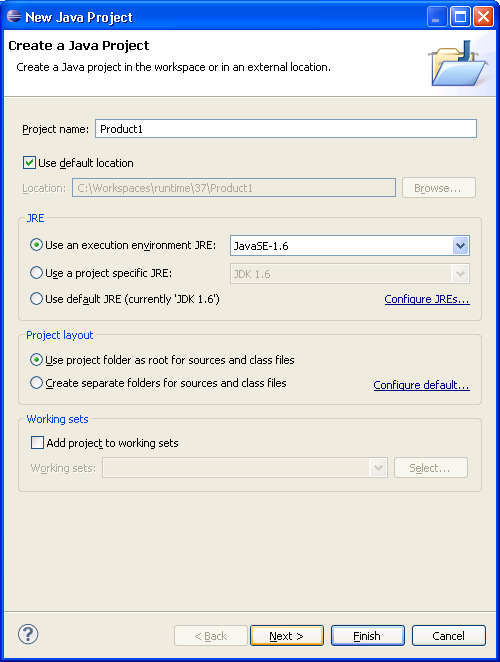
Click
File > New >
Other... > Java Project to open the New Java
Project wizard.
Type "Product1" in the Project name field. Click Next.
On the next page, Select "Product1" source folder.
Click Link additional source link in
Details pane or button  in view bar.
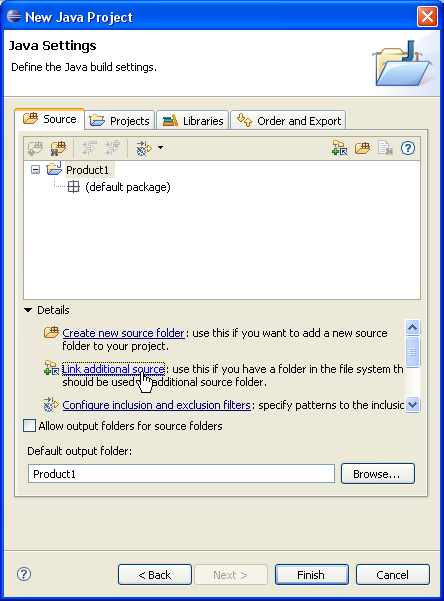
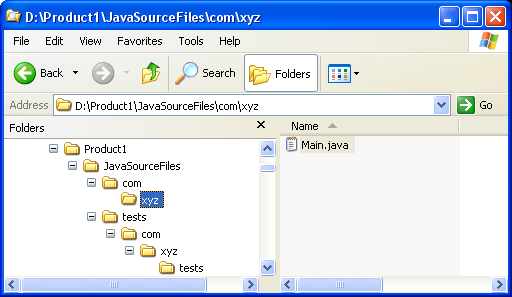
In Link Source click Browse.... and
choose the D:\Product1\JavaSourceFiles directory.
Type "src" in the Folder name field.
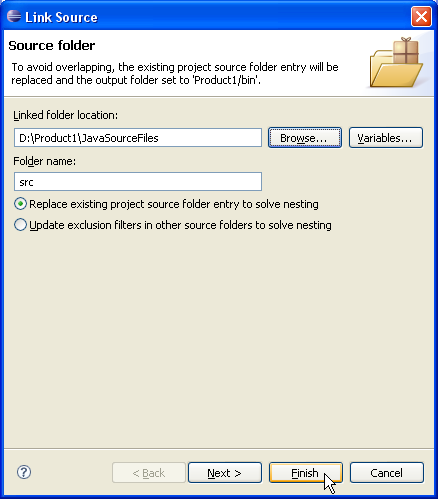
Click Finish to validate and close the dialog.
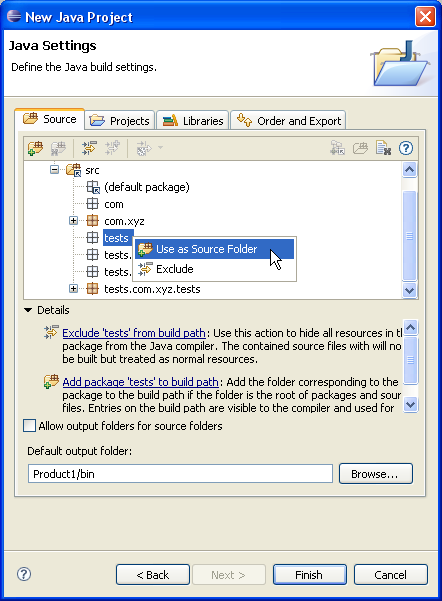
Expand the "src" source folder. Select the empty package "tests" and
set it as source folder using either Use as Source
Folder popup-menu item or button  in
view bar.
in
view bar.
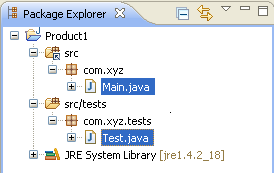
Your project source setup now looks as follows:
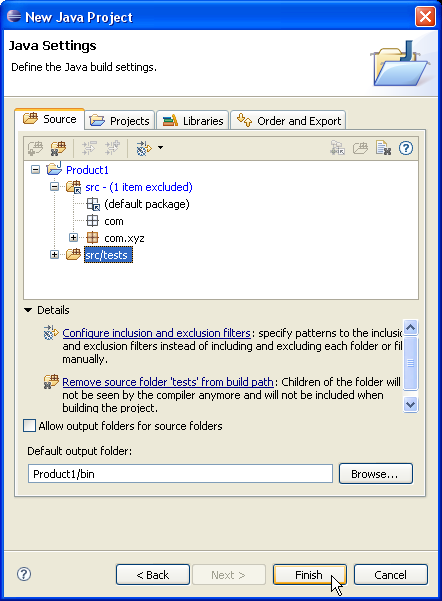
D:\Product1\JavaSourceFiles directory and the
D:\Product1\JavaSourceFiles\tests directory.