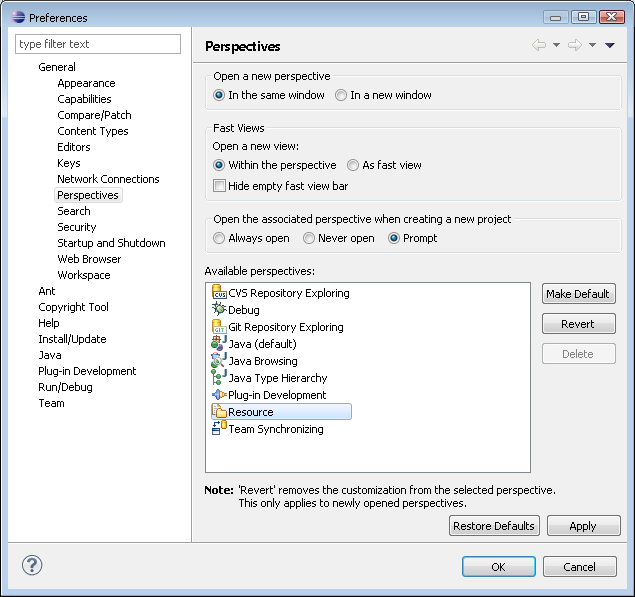
In the shortcut bar click on the Resource perspective. The Resource perspective is now active.
Drag the Outline view and stack it with one of the navigation views.
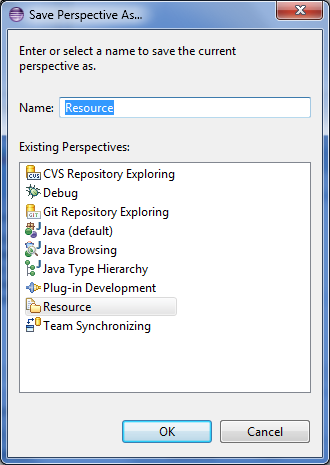
Choose Window > Save Perspective As...
The Save Perspective As dialog allows for an existing perspective to be redefined or for a new perspective to be created.
Click OK to update the Resource perspective and Yes to the subsequent confirmation dialog. The new perspective layout will be used if the perspective is reset or if a new one is opened.

In the Resource perspective move the Outline view so that it is now stacked with the Tasks view.
Choose Window > Reset Perspective. Notice the Outline view is stacked with the navigation view. Originally when the Workbench was first started it was below the navigation view, but because the perspective was saved with the navigation view and Outline stacked, it now considers this its initial layout.
Choose Window > New Window to open a second window showing the resource perspective. Observe that it uses the newly saved layout.
Close the second window.
