Branching

Creating a branch and releasing resources to that branch is useful in cases where you are not yet ready to put your changes in the main development flow. It is also useful for creating incremental patches to existing versions.
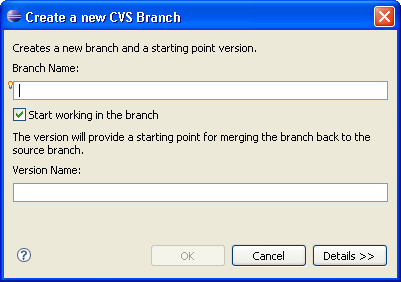
To create a branch:

  1. From the context menu of the project, select Team > Branch.

    Create a new CVS Branch dialog

  2. Enter the Branch Name for the new branch in the text area.
  3. A default version tag name will be proposed by the dialog. If you do not like the suggested name, you can change it in the text area.
  4. If you would like to start working in the branch immediately, make sure the checkbox is selected.
  5. Click OK.

Note: The Version Name is important; you will need this when you want to merge your changes later on. It identifies the point at which the branch was created.

Related concepts
Team programming with CVS
Branches
Synchronizing with a CVS repository

Related tasks
Synchronizing with the repository
Merging from a branch

Related reference
CVS